TensorFlow on Apple's M1 Chips

As I was recently training some Recurrent Neural Networks (RNNs), I noticed that the training times were huge, even on my M1 pro. Having checked Activity Monitor I saw 0 % GPU utilization. This made me look-up on the internet on how I can make use of these silicon GPUs. This page lists down the steps I followed to achieve this and maybe they help you too!
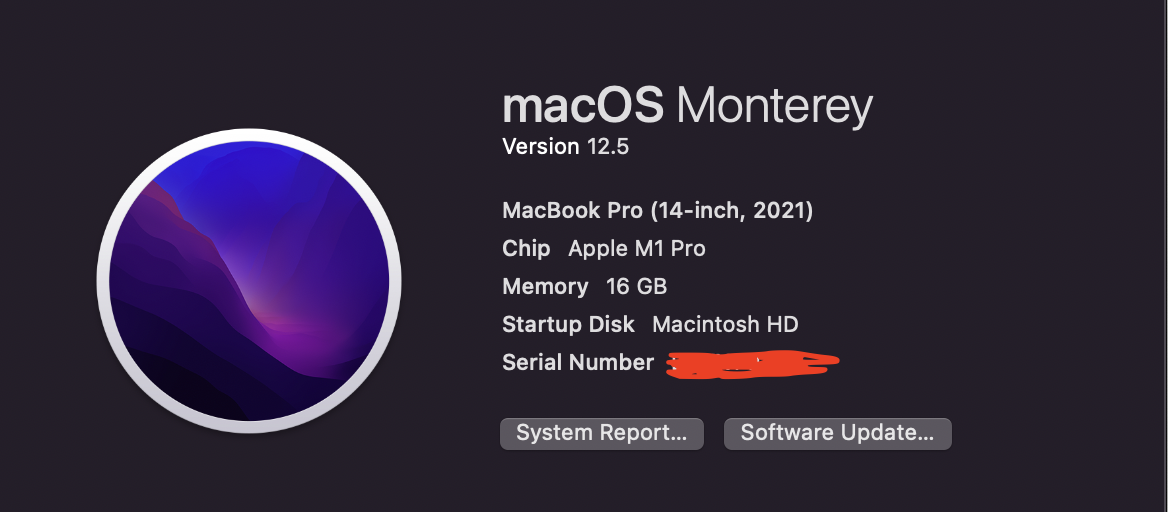
Before we begin with the steps here is my Macbook config:
OS Requirements 💻
- macOS 12.0+ (latest beta)
Features Not Supported ❌
- Multi-GPU support
- Acceleration for Intel GPUs
- V1 TensorFlow Networks
1. Setting up the Environment
Both Anaconda and Miniforge are Python and R distributions that include conda, the python package manager and they will help you install tensorflow if you don't already have them.
Note
Its recommeded to install either Anaconda or Miniforge, installing both might lead to conflicts.
Anaconda 🐍
Although Anaconda earlier didn't support ARM architectures (Apple silicons), starting May 2022 they have officially released support for M1, hurray! 🎉
Learn more here.
Get the Individual Edition of Anaconda from here.
Miniforge
Minforge is a minimal installer for Conda and it allows you to install the conda package manager with dedicated support for ARM architectures including Apple's M1.
This was the go to installer for Apple silicons before Anaconda started giving support.
Here's the link to Miniforge.
Optionally, if you already have Anaconda and want to go ahead with Miniforge, you'll have to remove the Anaconda files first. Else, you can skip to step 5 from below:
-
Install anaconda-clean:
-
Remove Anaconda files
-
Remove the Anaconda directory
-
Remove all files from the folder from step 3:
-
Install conda env:
Create a Virtual Environment
We'll create a virtual environment using conda in a terminal:
Next, lets activate it:
2. Install TensorFlow dependencies and base
Now that we've got conda and the virtual environment setup, we can now install tensorflow's dependencies.
Run the following command on your terminal:
Note
If you already have tensorflow installed and want to upgrade, Apple recommends executing the following commands:
Next, we'll install tensorflow's base:
3. Install TensorFlow's Metal Plugin

Apple's Metal provides an API to power hardware-accelerated graphics on their platforms. Read more here.
To enable tensorflow to utilize M1's GPU, we'll install metal:
Voila! You're done! 🤩
Reload your jupyter kernels and try running your tensorflow code. It should give you a message like this while model building:
